

Connecting an ESP32 to the Cloud#
You have probably done it before. You pull in an HTTP library, build a JSON string, set the headers, open a TLS connection, POST the payload, check the response code, and close the connection. For a single temperature reading, that costs you around 487 bytes on the wire, a TLS handshake that takes real time and memory, and a radio-on window that matters a lot when your board runs on a battery.
For a dev board on your desk, this is fine. For a sensor in the field that needs to wake up, transmit, and go back to sleep as fast as possible, every byte and every millisecond counts.
UDP handles the transport — it’s fast, lightweight, and every ESP32 supports it. The piece that was always missing is a clean answer to the question that comes right after: what should the bytes actually look like?
That is the kind of problem a good specification solves once, so thousands of developers don’t have to solve it again on every project.
A Specification That Does the Work for You#
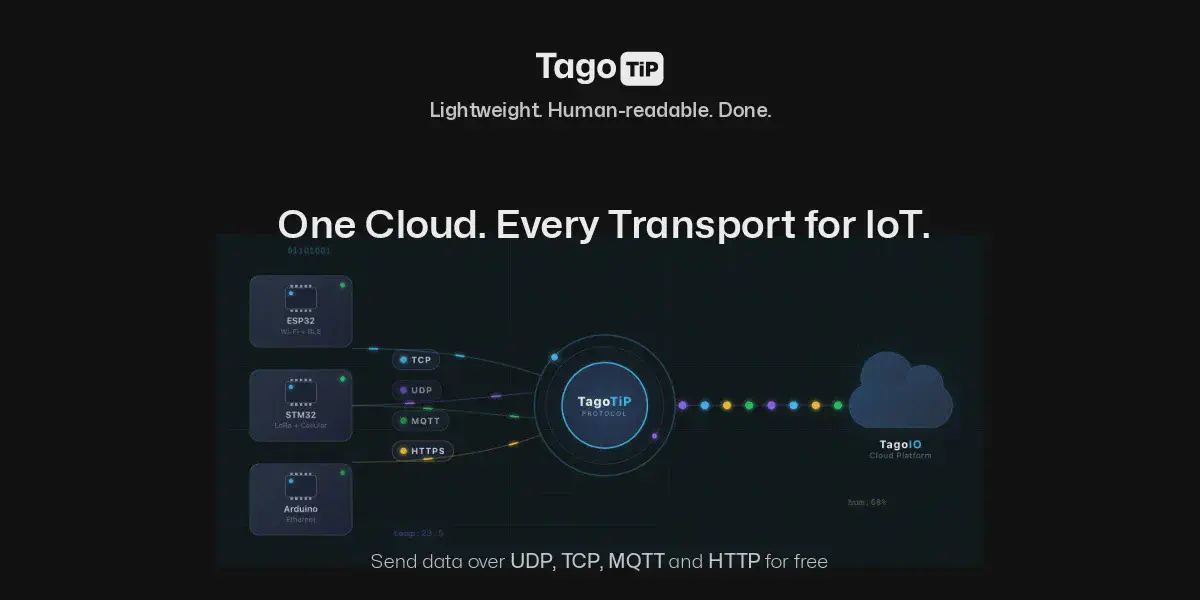
TagoTiP is an open specification (Apache 2.0) that defines a compact, human-readable frame format for IoT data. It is not a transport — it rides on top of whatever transport you already use. The reason it simplifies things so much is that it makes decisions you would otherwise have to make yourself: how to encode a number versus a string, how to attach a unit, how to authenticate, how to identify a device. The spec has already answered all of that, so your firmware just follows it.
A complete frame looks like this:
PUSH|4deedd7bab8817ec|sensor-01|[temperature:=32.5#C;humidity:=65#%]
About 130 bytes. Everything is right there in plain text: the method (PUSH), an authorization hash, the device serial, and a payload with typed variables and units. The := means “this is a number.” The #C means “the unit is Celsius.” No JSON. No curly braces inside curly braces. No parser that allocates memory at runtime.
If you have ever built a frame for any serial protocol or packed a struct for a binary payload, this will feel immediately familiar. The difference is that someone already wrote down all the edge cases — types, units, timestamps, metadata, locations, error responses — so you can rely on the spec instead of inventing conventions from scratch.
The type operators cover what IoT devices actually send:
| Operator | Type | Example |
|---|---|---|
:= | Number | temperature:=25.5 |
= | String | status=online |
?= | Boolean | active?=true |
@= | Location | position@=39.74,-104.99 |
Each variable can also carry optional suffixes for unit (#), timestamp (@), group (^), and metadata ({}), all inline:
temperature:=32.5#C@1694567890000^batch_01{source=dht22}
One line. One data point. Fully annotated. No schema file, no protobuf compiler, no code generator.
Setting Up the Cloud Side#
Before writing any firmware, you need a device on TagoIO to receive the data:
- Go to Devices and create a new device. Select the network TagoTiP and the UDP connector.
- Assign a serial number — for example,
sensor-01. This is how the spec identifies your device. - Go to Devices → Authorization, click Generate, choose the TagoTiP(s) token format, and save the Token Hash (16 hex characters). This goes into your frame. The authorization secret stays with you — the hash is safe on the wire because it cannot be reversed.
That is the entire cloud setup.
The Complete ESP32 Sketch#
Here is a working Arduino sketch that reads a sensor and sends the data to the cloud over UDP. This is the entire program — there is nothing else to install or configure on the ESP32 side beyond the standard Arduino core.
#include <WiFi.h>
#include <WiFiUdp.h>

const char* SSID       = "your-wifi";
const char* PASSWORD   = "your-password";
const char* TIP_HOST   = "udp.tip.us-e1.tago.io";
const int   TIP_PORT   = 5683;
const char* TOKEN_HASH = "4deedd7bab8817ec";  // your token hash
const char* SERIAL_N   = "sensor-01";          // your device serial

WiFiUDP udp;

void setup() {
  Serial.begin(115200);
  WiFi.begin(SSID, PASSWORD);
  while (WiFi.status() != WL_CONNECTED) delay(500);
  Serial.println("WiFi connected");
}

void loop() {
  float temperature = analogRead(34) * 0.1;  // replace with your sensor

  char frame[256];
  snprintf(frame, sizeof(frame),
    "PUSH|%s|%s|[temperature:=%.1f#C]",
    TOKEN_HASH, SERIAL_N, temperature);

  udp.beginPacket(TIP_HOST, TIP_PORT);
  udp.print(frame);
  udp.endPacket();

  // optionally read the server's ACK
  delay(100);
  int len = udp.parsePacket();
  if (len > 0) {
    char buf[128];
    udp.read(buf, sizeof(buf) - 1);
    buf[len] = '\0';
    Serial.println(buf);  // ACK|OK|1
  }

  delay(10000);
}
That's the entire program. The core of it is a snprintf and three lines of UDP. No HTTP library. No JSON library.
The server responds with ACK|OK|1 — one data point stored. If something is wrong, you get a clear error like ACK|ERR|invalid_token or ACK|ERR|device_not_found. No HTTP status codes to look up, no response body to parse.
Sending multiple variables#
Add more variables by separating them with a semicolon:
snprintf(frame, sizeof(frame),
  "PUSH|%s|%s|[temperature:=%.1f#C;humidity:=%.1f#%%]",
  TOKEN_HASH, SERIAL_N, temperature, humidity);
Sending GPS location#
The @= operator is made for coordinates:
snprintf(frame, sizeof(frame),
  "PUSH|%s|%s|[position@=%.6f,%.6f;speed:=%.1f#km/h]",
  TOKEN_HASH, SERIAL_N, lat, lng, speed);
Passing through raw binary payloads#
If your device already produces a binary payload (LoRa decoder output, proprietary sensor protocol), you can forward it as hex without changing anything about your existing data format:
snprintf(frame, sizeof(frame),
  "PUSH|%s|%s|>xDEADBEEF01020304",
  TOKEN_HASH, SERIAL_N);
The raw bytes arrive at your device’s payload parser on TagoIO for decoding.
Testing from Your Laptop#
You can validate everything before you flash a single board. If you have netcat installed:
echo -n 'PUSH|4deedd7bab8817ec|sensor-01|[temperature:=25.5#C]' \
  | nc -u -w1 udp.tip.us-e1.tago.io 5683
You should see ACK|OK|1 come back. If you see it, your device configuration is correct and you can move on to firmware with confidence.
When Security Matters#
Encrypting the link between your device and a server is only part of the problem. In most IoT architectures, data passes through multiple systems before it reaches the application that actually processes it — load balancers, message brokers, network servers, cloud ingestion pipelines. TLS protects the connection, but once the payload is decrypted at the first termination point, it travels in the clear through everything behind it.
What IoT deployments actually need is for the data to stay encrypted until it reaches the application server. Not just encrypted in transit — encrypted through every intermediary.
TagoTiP/S solves this at the frame level. Instead of relying on the transport for security, it wraps the frame itself in an AEAD envelope (Authenticated Encryption with Associated Data). The device encrypts the payload using a symmetric key derived from its authorization secret, and only the destination — TagoIO’s application layer — can decrypt it. Anything in between sees opaque bytes.
The encrypted datagram goes to port 5684 instead of 5683. Same server, same UDP, but now the content is protected end to end. No handshake, no round trips, no certificates, no session state. One datagram, one direction, done.
The spec supports multiple cipher suites so you can match security level to your hardware:
| Cipher Suite | Key Size | Tag | Envelope Overhead |
|---|---|---|---|
| AES-128-CCM | 128-bit | 8 B | 29 bytes |
| AES-128-GCM | 128-bit | 16 B | 37 bytes |
| AES-256-CCM | 256-bit | 8 B | 29 bytes |
| AES-256-GCM | 256-bit | 16 B | 37 bytes |
| ChaCha20-Poly1305 | 256-bit | 16 B | 37 bytes |
AES-128-CCM is the mandatory baseline. A fully encrypted frame carrying the same temperature and humidity data comes to about 119 bytes — still 4.1x smaller than an unencrypted HTTP/JSON request. The envelope also includes a sequence counter for replay protection, so captured datagrams can’t be re-sent to inject stale data.
For an ESP32 with hardware AES acceleration, the overhead is negligible. You get confidentiality, integrity, and replay protection in a single stateless datagram — encrypted from device to application, opaque to everything in between.
When UDP Is the Right Choice#
UDP gives you zero connection overhead, minimal power consumption, and fire-and-forget delivery. That makes it a natural fit for battery-powered sensors, periodic telemetry, and any scenario where missing one reading out of a hundred is acceptable.
If you need guaranteed delivery, QoS levels, or bidirectional commands from the cloud, the same specification works over MQTT, TCP, and HTTPS — the frame format stays identical, only the transport changes. The TagoTiP documentation covers all four transports with their own working examples.
Going Further#
- TagoTiP specification on GitHub — full protocol grammar, parsing rules, and ABNF
- TagoTiP SDK repository — libraries for C/Arduino, Rust, Python, Go, and TypeScript
- TagoTiP documentation — endpoints, setup guides, rate limits, and security details including TagoTiP/S encryption
The specification is open source. You can build clients, servers, libraries, or gateways for any purpose, including commercial, without needing permission.